Jablotron Futura
Futura is a heat recovery unit, sort of the heart of a house ventilation system and as such, it can introduce complex information about the indoor air quality into my sensor network. But to be honest that fact wasn’t the main driver for its integration.
The driver
It was one issue I had with the unit and couldn’t fix it within the standard product support. The behavior of the units depends on the settings you give it. The most important value is the required temperature.
I am afraid there is a quite naive idea that if you set the optimal temperature, then the main requirement is to keep such temperature exactly and strictly on that level at any point in time. That is definitely far away from the reality.
Of course it is possible to always shift the required temperature in the mobile app, but honestly, that is a task for the machine not for creative human being.
Fortunately, the solution is easy, just to set the required temperature way above the optimal in winter and way below the optimal in summer. Then everything works exactly how it should.
Now we are finally getting close to the issue I had. Unfortunately, some of the settings get lost whenever the heat recovery unit disconnects from the power supply. And the required temperature is one of them so it resets to the default value 21 degrees. Consulting this issue with product support, they say the unit should keep all the setting, but so far they cannot find out why it is not so.
The idea
The good thing I learned from the support guy was that it is possible to communicate directly with the unit through Modbus TCP protocol. That new fact opened completely new direction in my thinking. There is no reason to have all the equipment in the house extra intelligent, it is perfectly enough if they can just collaborate with something smarter than they are.
Futura integration
I already revealed the idea of sensor network access layers in the first post of Building Sensor Network series.
The main idea is to avoid the Babylon syndrom and unify the communication between all the devices in the sensor network.
We need to teach Futura to communicate over MQTT. And to keep thing simple, using the similar approach as for BigCLown modules. Introducing another translation gate, this time for Modbus protocol.
Modbus to MQTT gate
I think we live in amazing times when the human knowledge is shared over the internet and it is just matter of minutes to gather enough information to solve most of the tasks we can face. Sharing the source code moves it even further. Not surprisingly, I wasn’t the first one having the idea of translation gate between Modbus and MQTT protocols.
There was already modbus2mqtt from Oliver Wagner. I tried to use it as it was but without much success, so I made my own fork and dug in a bit. There were just few compatibility issues related to latest Python and involved libraries. The biggest task was to create register definition file for the Futura.
Supporting our laziness, it allows defining defaults for constant values. For our purpose, we define two big groups of attributes, one for Input registers, one for Holding registers. Specification of each group starts with default definition specifying everything but the first two values.
Then for any attribute, we specify just the MQTT topic and position in Modbus Registers. There is just one difference between the groups. The FunctionCode 4 for Input registers and FunctionCode 3 for Holding registers. See the shortened version of the register definition below.
# Input Registers
DEFAULT,,1,>H:,15,1,4
#
temp_ambient,15
temp_fresh,16
temp_indoor,17
temp_waste,18
rh_ambient,19
#
# Holding Registers
DEFAULT,,1,>H:,15,1,3
#
fventilation,0
boost_tm,1
circulation_tm,2
overpressure_tm,3
night_tm,4
Having the register definition file in place, we can test how it works:
python3 modbus2mqtt.py --mqtt-topic futura --tcp HOST_IP --registers futura.csv
and in the second terminal subscribe to the Futura messages:
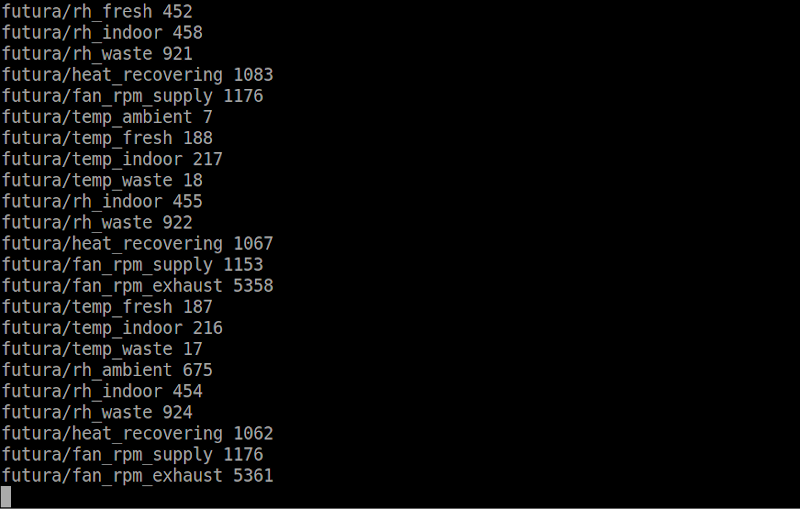
mosquitto_sub -v -t 'futura/#'
And you should see something like this:
Then the final step is to set this new Python gate as another pm2 process.
pm2 start /usr/bin/python3 --name "json2mqtt-neurio" -- /home/luba/Git/modbus2mqtt/modbus2mqtt.py --mqtt-topic futura --tcp HOST_IP --registers /home/luba/Git/modbus2mqtt/futura.csv
pm2 save
Update - modbus-tcp2mqtt
Later I was facing some additional requirements for changes and decided to create my own simple gate modbus-tcp2mqtt.